

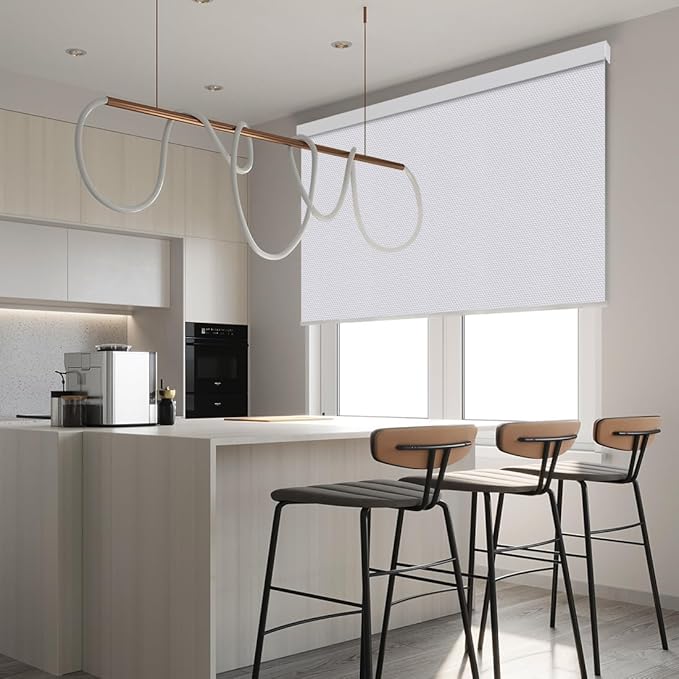
Hi, I’m going to show you how to fit a roller blind to your window. You’ll need a few basic tools for this, so before you start, I’d recommend laying out your tools to ensure you have everything you need to hand.
Choosing the Right Position
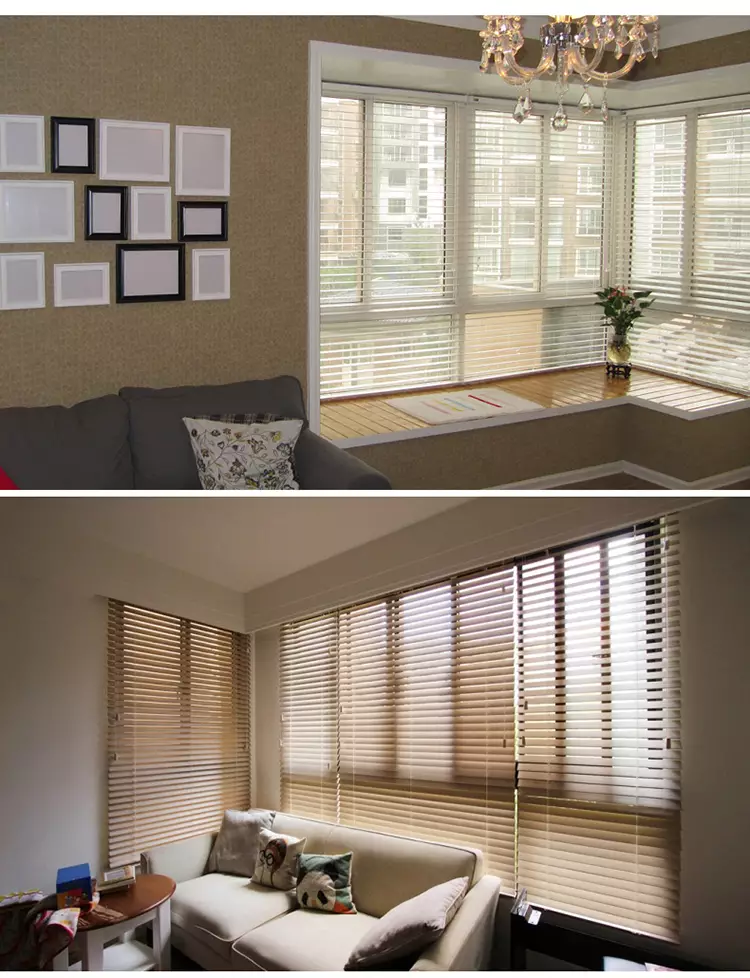
Our roller blind brackets have two sets of screw holes and can be rotated to suit a variety of positions. They can be fitted inside the recess, outside the recess, into the ceiling, or into the wall. In this video, I’ll be fitting the blind inside the window recess, but this process is similar for the other positions. This will require me to cut the blind to size. Remember, once a blind has been cut, it cannot be returned, so it’s important to take your time with this step. If in doubt, cut your blind slightly larger than required and then, if necessary, trim until it fits. Also, not all blinds can be cut, so to be sure, please check the details of your chosen blind.
Fixing the Brackets
So let’s fix the brackets. Using a pencil, mark the position of the brackets and draw the holes. Fix the brackets in place using suitable fixings and wall plugs. If screws and plugs are provided, ensure that they are suitable for your type of wall or window. If in doubt, consult a professional. If you are happy with the size of your blind and it doesn’t need to be cut to size, then you can skip the next few steps.
Measuring and Cutting
With your brackets in place, measure the distance between them to get the right measurement for the blind fabric and bottom bar. Take 3.2 cm off this measurement to allow for the mechanism. For example, if the measurement I’ve taken between the brackets is 109.5 cm, then the blind fabric and the bottom bar need to be 106.3 cm wide. Use a craft knife or sharp scissors to carefully cut the fabric and a hacksaw to trim the bottom bar.
Next, we need to cut the top bar. This needs to be slightly longer than the blind fabric, so you only need to take 2.7 cm off the measurement between the brackets. Again, if the measurement I’ve taken is 109.5 cm, I then deduct an extra 2.7 cm and cut the top bar to 106.8 cm wide.
Final Assembly
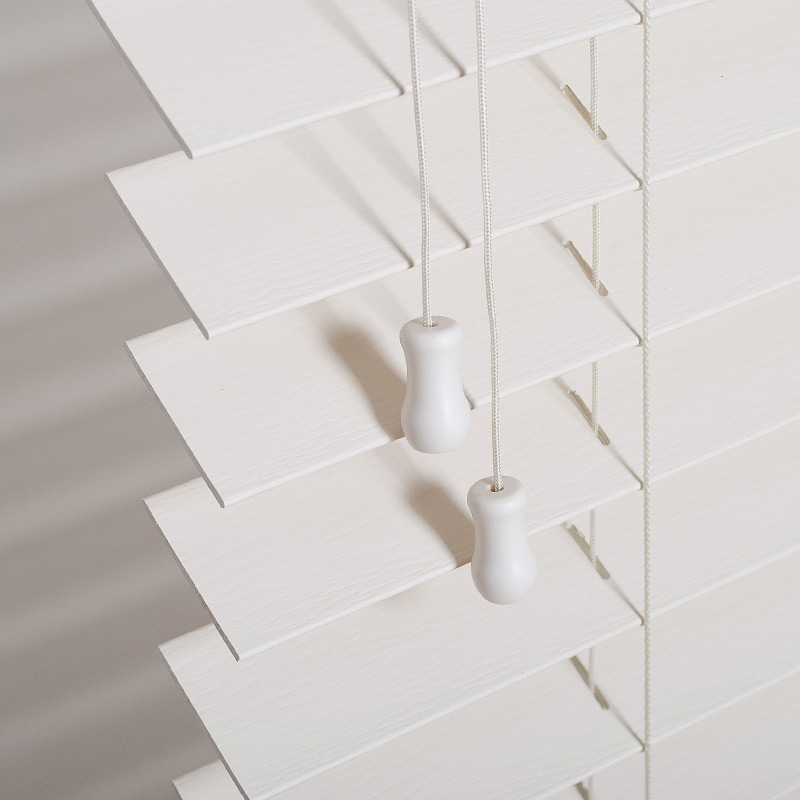
Now the tricky part is done! You just need to roll the blind back up tightly, keeping the edges straight and aligned. Slip the bottom bar back into the bottom of the blind fabric. Choose which side you would like the chain to be fitted and slot this into place. Take care to ensure the chain guard is positioned at the top to allow for correct operation.
Push the pivot end into the other side to fit the blind to your window. Fit the pivot end first; this has a spring fitted for easier installation. Push this into place, then finish with the control mechanism end.
Installing the Child Safety Device
Last but not least, we need to install the cord tensioning child safety device, sometimes called a P clip. Clip the device to the blind cord and make a pencil mark where to draw the hole. The cord should have continuous tension but still be able to run through the device.
FAQ
You will need basic tools such as a pencil, screws, wall plugs, a craft knife, sharp scissors, and a hacksaw.
No, not all blinds can be cut. Check the details of your chosen blind to confirm.
The child safety device ensures the cord remains taut and prevents any risk of entanglement.
How to Shop for Window Shades
Hey there! Now I am here today to help you with what seems to be one of the trickiest parts...
5 Rules For Hanging Curtains & Common Mistakes to Avoid!
A beautiful set of curtains has the power to transform a space into a stunning one. Unfortunately, even the most...
Blinds vs Curtains: Which to Choose?
Before you finalize the purchase of either, consider well the look you're trying to achieve. Factors such as cost, ease...